A modular kitchen is built in a factory and assembled on site, so good planning before manufacturing is what makes it fit perfectly. Use this checklist whether you are building a new home in Mohali or renovating a kitchen in Chandigarh or Panchkula.
Step 1: Set your budget and priorities
Decide an overall budget, including the countertop and appliances, and keep a small contingency for surprises. Then list your priorities: more storage, an easy-to-clean finish, space for two cooks, or a premium look. Our cost guide gives indicative figures for each budget level.
Step 2: Finish civil, plumbing and electrical work
Modular cabinets are made to millimetre measurements, so the room must be ready first.
- Complete any wall changes, plastering and floor tiling.
- Fix the position of the sink, water inlet and drain; plan the water purifier and dishwasher connections.
- Plan the gas line or electric hob supply.
- Mark the chimney duct route to an outside wall.
- Add electrical points for every appliance, plus counter-height sockets for mixers and small appliances.
If you have your own contractor, your designer should give them a drawing with the exact heights and positions of every point.
Step 3: Get an accurate site measurement
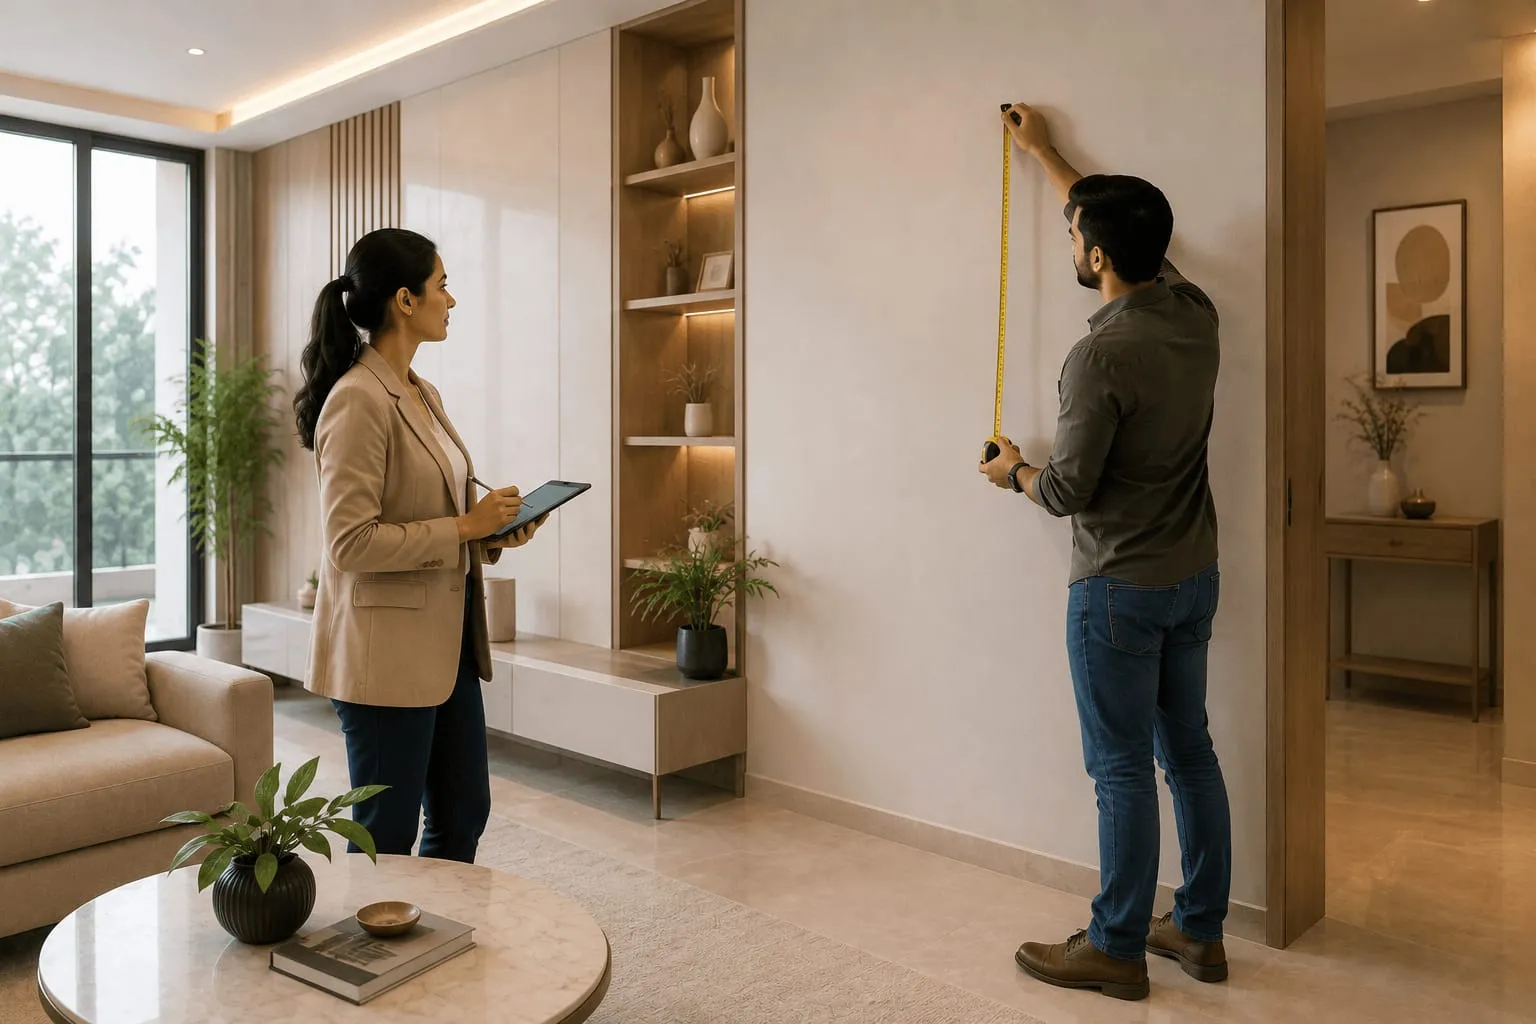
A designer should measure the room after civil work, noting wall lengths, ceiling height, beams, columns, windows, doors, switchboards and pipe positions. Small details such as a window sill height or a beam over the hob change the design, so on-site measurement matters.
Step 4: Decide your appliances
Freeze your appliance list before the design, with model sizes where possible:
- chimney and hob (number of burners, width)
- built-in or freestanding microwave and oven
- refrigerator (single or double door, width)
- dishwasher
- water purifier
- any coffee machine, air fryer or other counter appliance you use daily
Step 5: Choose layout, materials, finishes and hardware
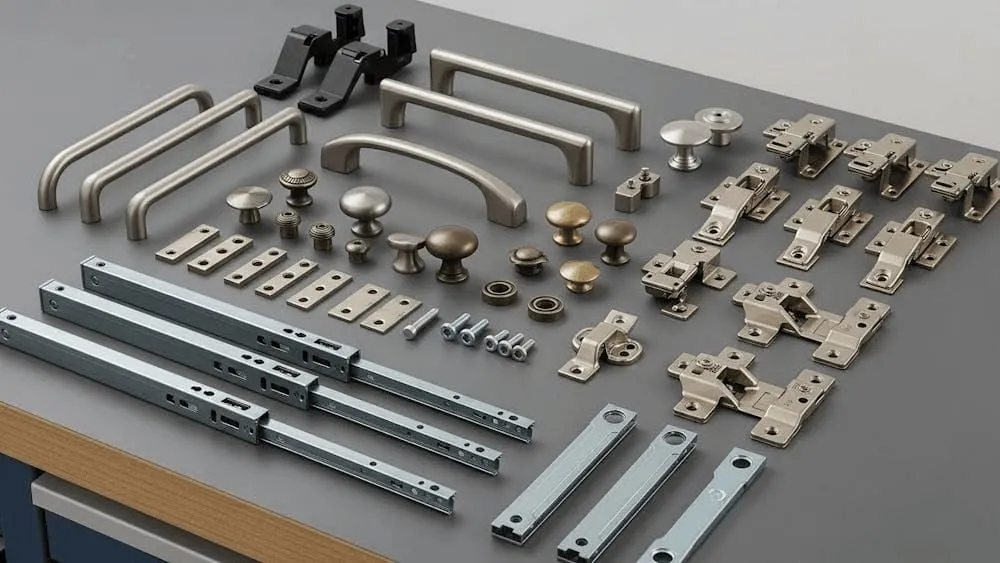
Work with your designer on the layout (see the layout guide), the carcass material (HDHMR vs plywood), the shutter finish (finishes guide) and the hardware (hardware guide). Compare finish samples next to your countertop in daylight.
Step 6: Approve the 3D design and itemised quote
Before anything is manufactured, you should see a 3D design of your kitchen and a quote that lists each item separately: carcass, shutters, hardware, accessories, countertop, appliances, installation and taxes. Read it carefully and confirm board types, thicknesses and hardware models.
Step 7: Manufacturing
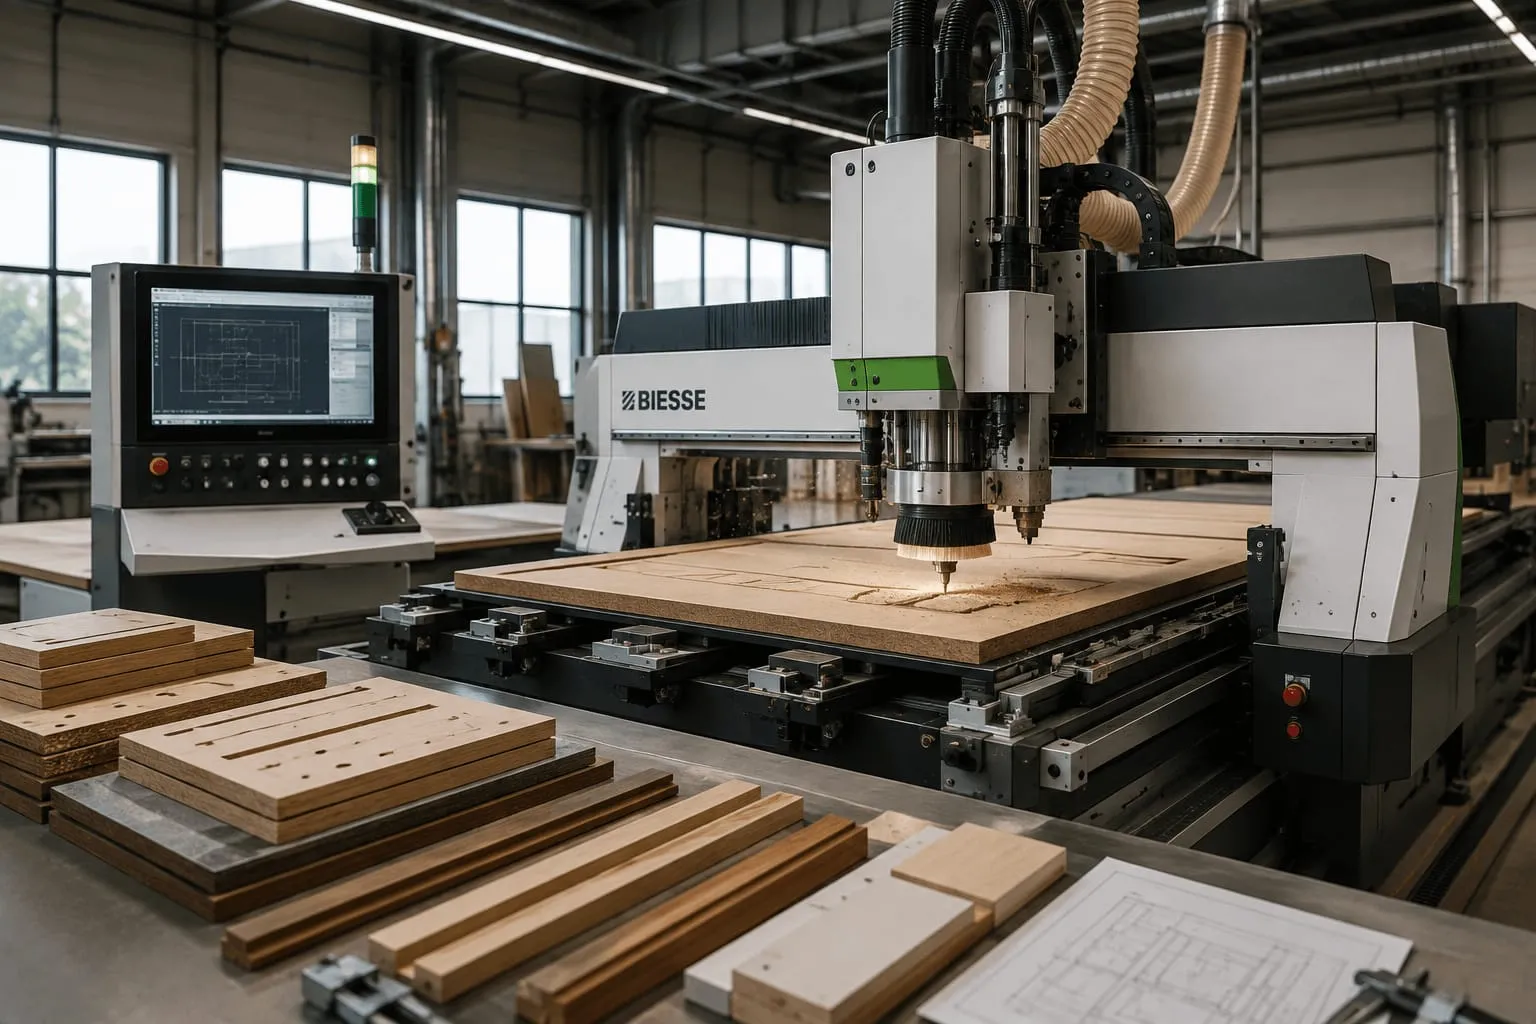
Once you approve the design, the modules are cut on CNC machines, edge-banded and assembled in the factory. At Delma this stage, together with installation, usually takes about 35 to 40 days; solid wood finishes take around 75 days. Use this time to finish painting and any remaining site work.
Step 8: Installation and handover checklist
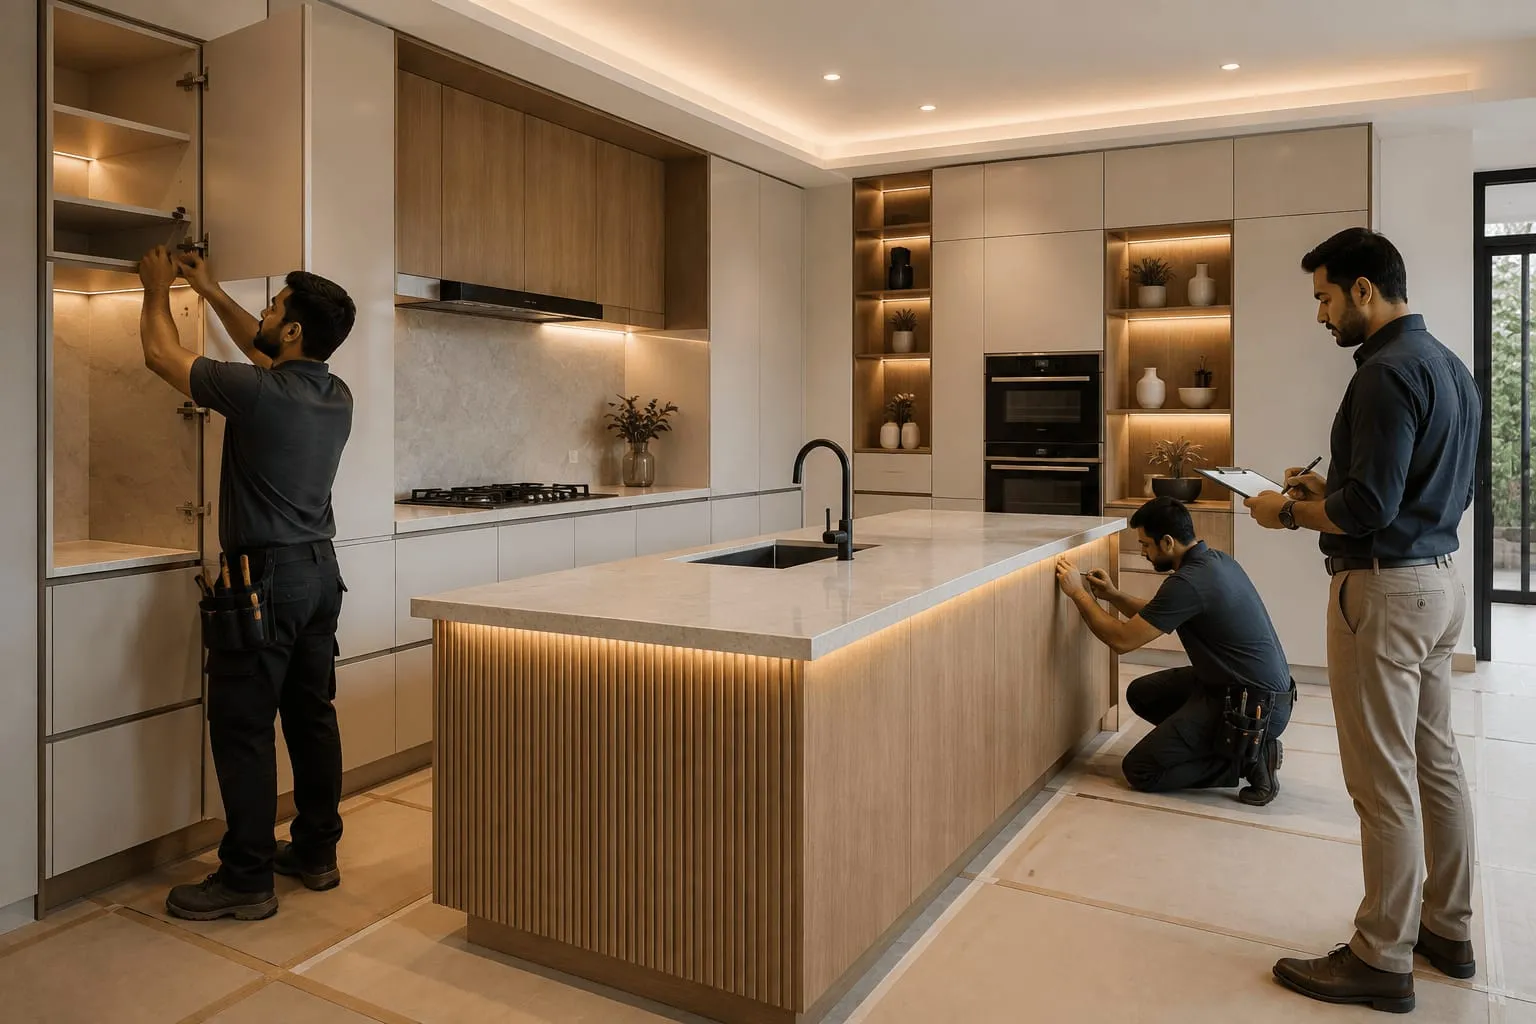
Installation on site usually takes a few days. Before you sign off, check:
- shutters are level with even gaps
- every drawer, hinge and lift-up closes softly
- all edges are banded and there are no chipped corners
- the sink, taps and countertop joints are sealed with no leaks
- appliances fit, are connected and work
- the chimney duct is sealed at the wall
- you have the warranty details and care instructions in writing
Ready to start?
Delma handles design, manufacturing and installation, and can guide your contractor on civil and electrical work. Read more about our process and services, or book a free design consultation in Mohali, Chandigarh or Panchkula.